The Glow Intensity-Technical Tutorial
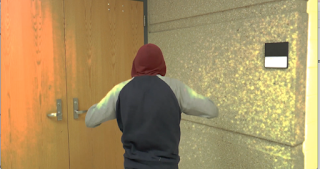
 Summary: I am going to teach how to get this really cool, interesting glow intensity. This was inspired by our final project, where our main character is flashed into the software, Maya. As he is about to touch the magical object, he is flashed into Maya and has to figure out a way to get out.

Step one: You will need to know where exactly you want your flash to be. Refer back to your video to see where it should be incorporated.
Step two: Open up the effects tab, and click on glow, exposure, and blurriness. Once you have set those up, hit the position button to set a key frame for each of these.
Step three: Set another key frame under the same effects, and adjust to your liking. I wanted mine to be pretty bright, so I set the exposure up quite low and made my blurriness start to fade the picture along with that.
Step four: Once I was happy with how it looked, I had to make sure that the flash effect really fit into the rest of the project. Once the main character was in falling down into Maya, I made sure those two clips were connected and timed right to really fit the rest of the video.
Audience: This technical tutorial is intended for more beginning After Effects users. This was a really simple task to be completed, and really should be used by people that don't really fully understand how After Effects works.
Purpose: The purpose of this technique is to add some emphasis on the more fantastical parts of animation. It's really used to showcase how animation is incorporated into film, to make a much better product, than some boring realistic film. This adds dimension to a video, by adding the idea of magic and being transported into another world.
YouTube Video: https://www.youtube.com/watch?v=JXI8hsCK6BA

Comments
Post a Comment